Getting Started
This short introduction will briefly guide you through the project setup and the user interface of NumbatUI. The bullet point lists will provide you with the next steps to take:
Starting Up NumbatUI
Once you've installed NumbatUI successfully you are ready to run the application. For assistance with installation, visit the installation section.
Tasks
- Launch NumbatUI.
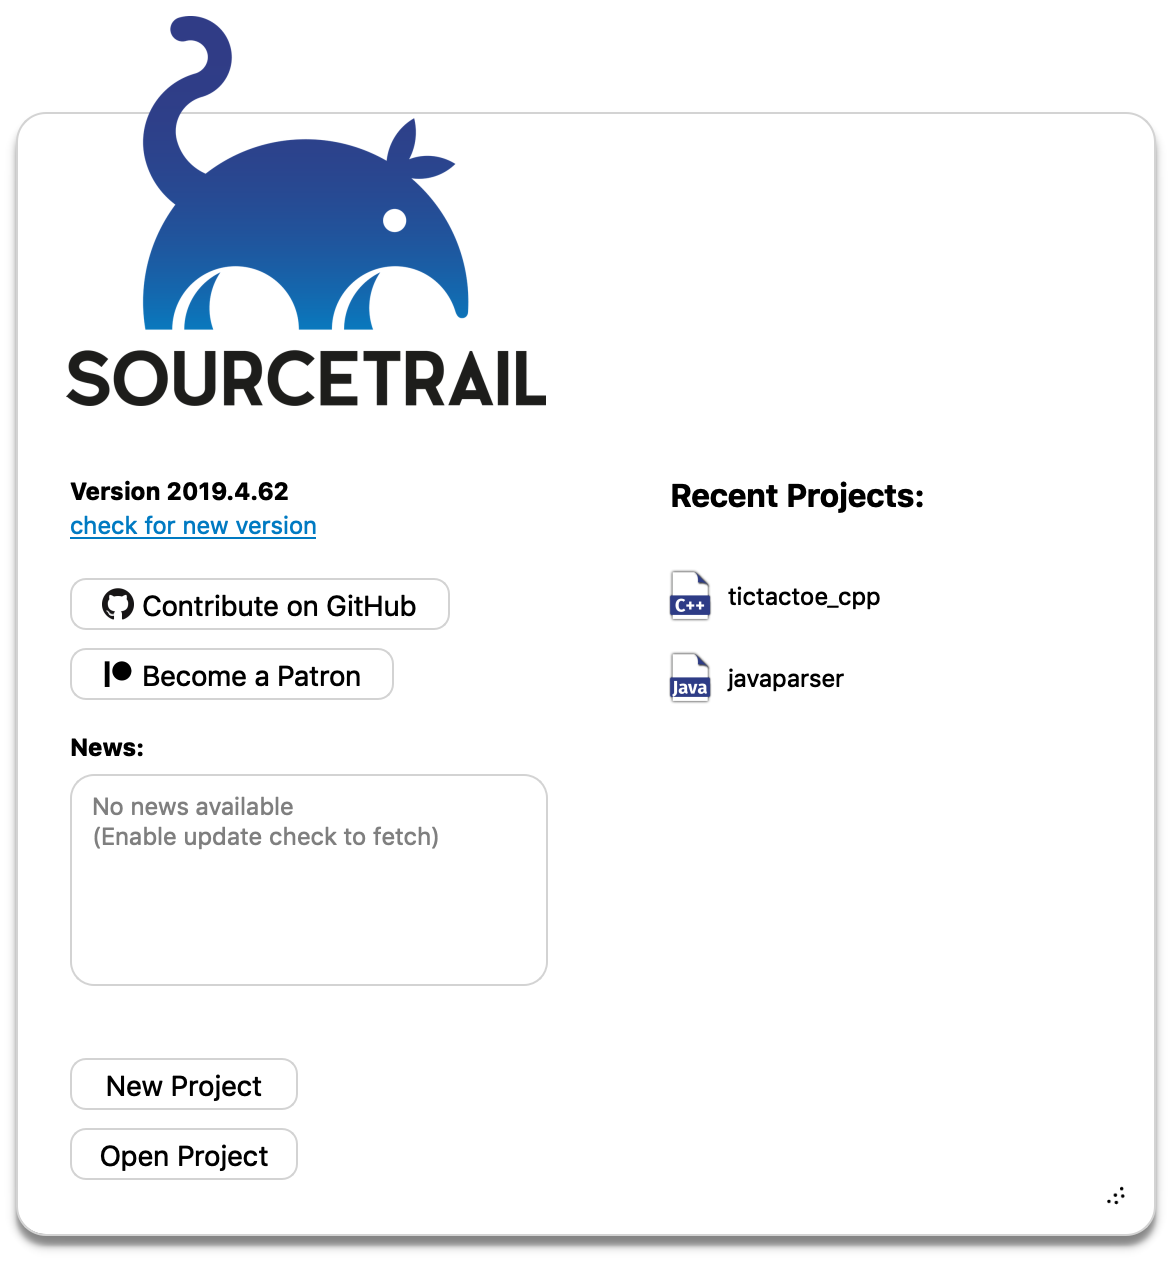
After launching NumbatUI you will see the Start Window. From here you can create your own project or choose a pre-indexed one.
Tasks
- Click New Project to create a new project.
- or select one from the Recent Projects (ex: TicTacToe) and continue with the UI Intro
Creating a New Project
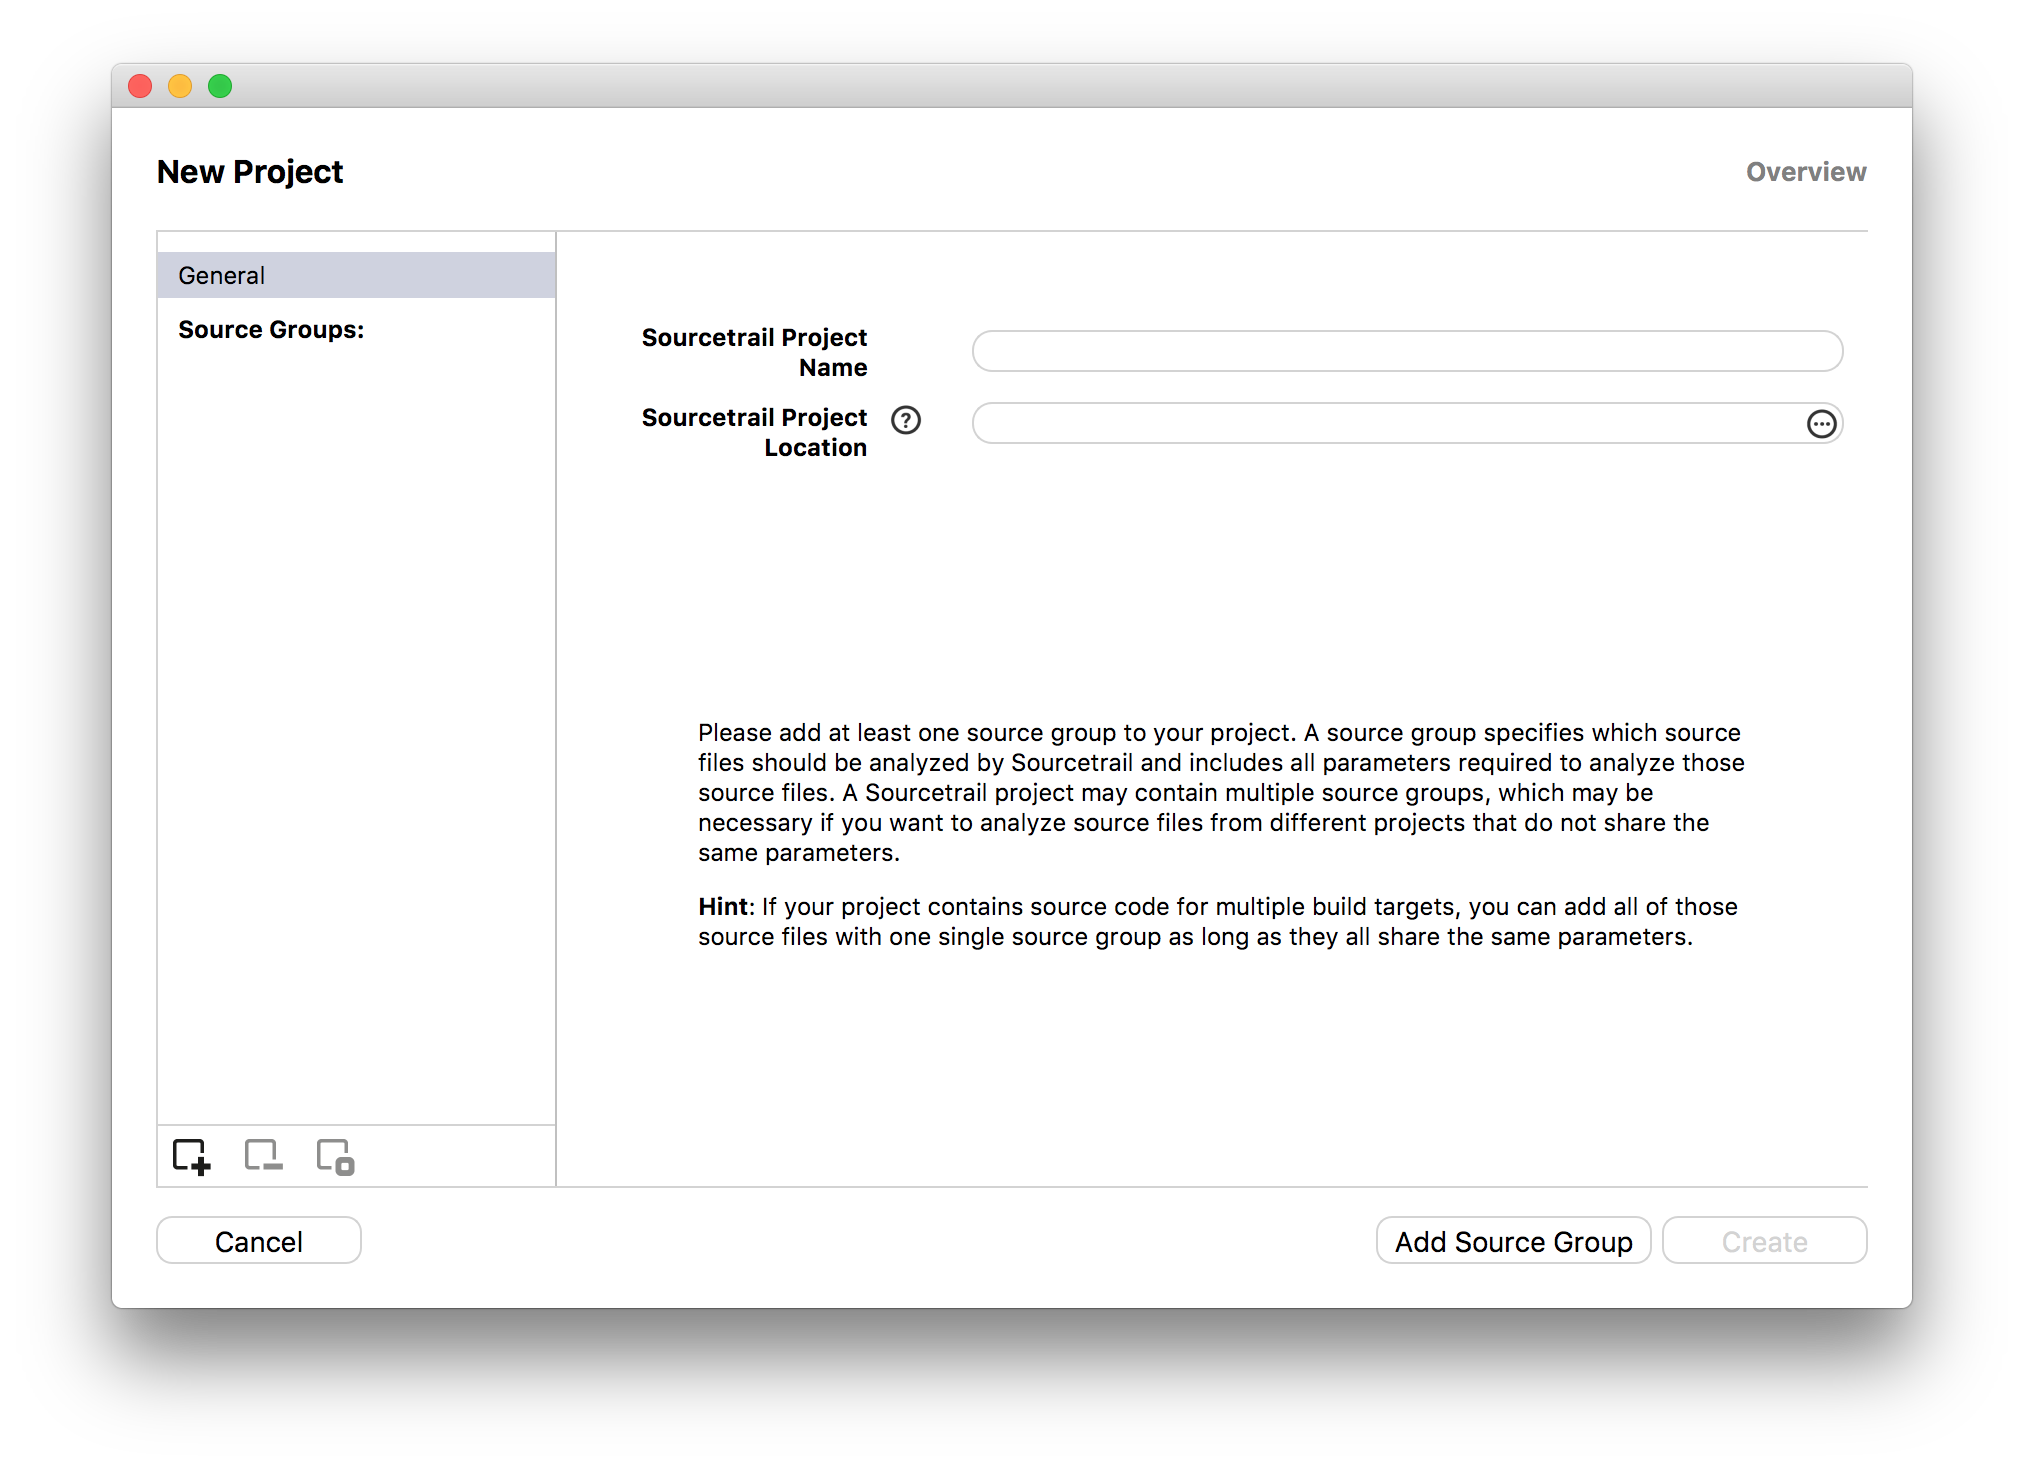
When creating a new NumbatUI project you will use the Project Setup Wizard. This wizard splits the setup process into several subsequent steps. Depending on your project's structure and the used build system, there are different types for project setup. Choosing the correct setup method is important and can make the setup process a lot easier.
Tasks
- Give your project a Name and select a Location for your NumbatUI project to live.
- Click Add Source Group to add source files to the project.
Add Source Group
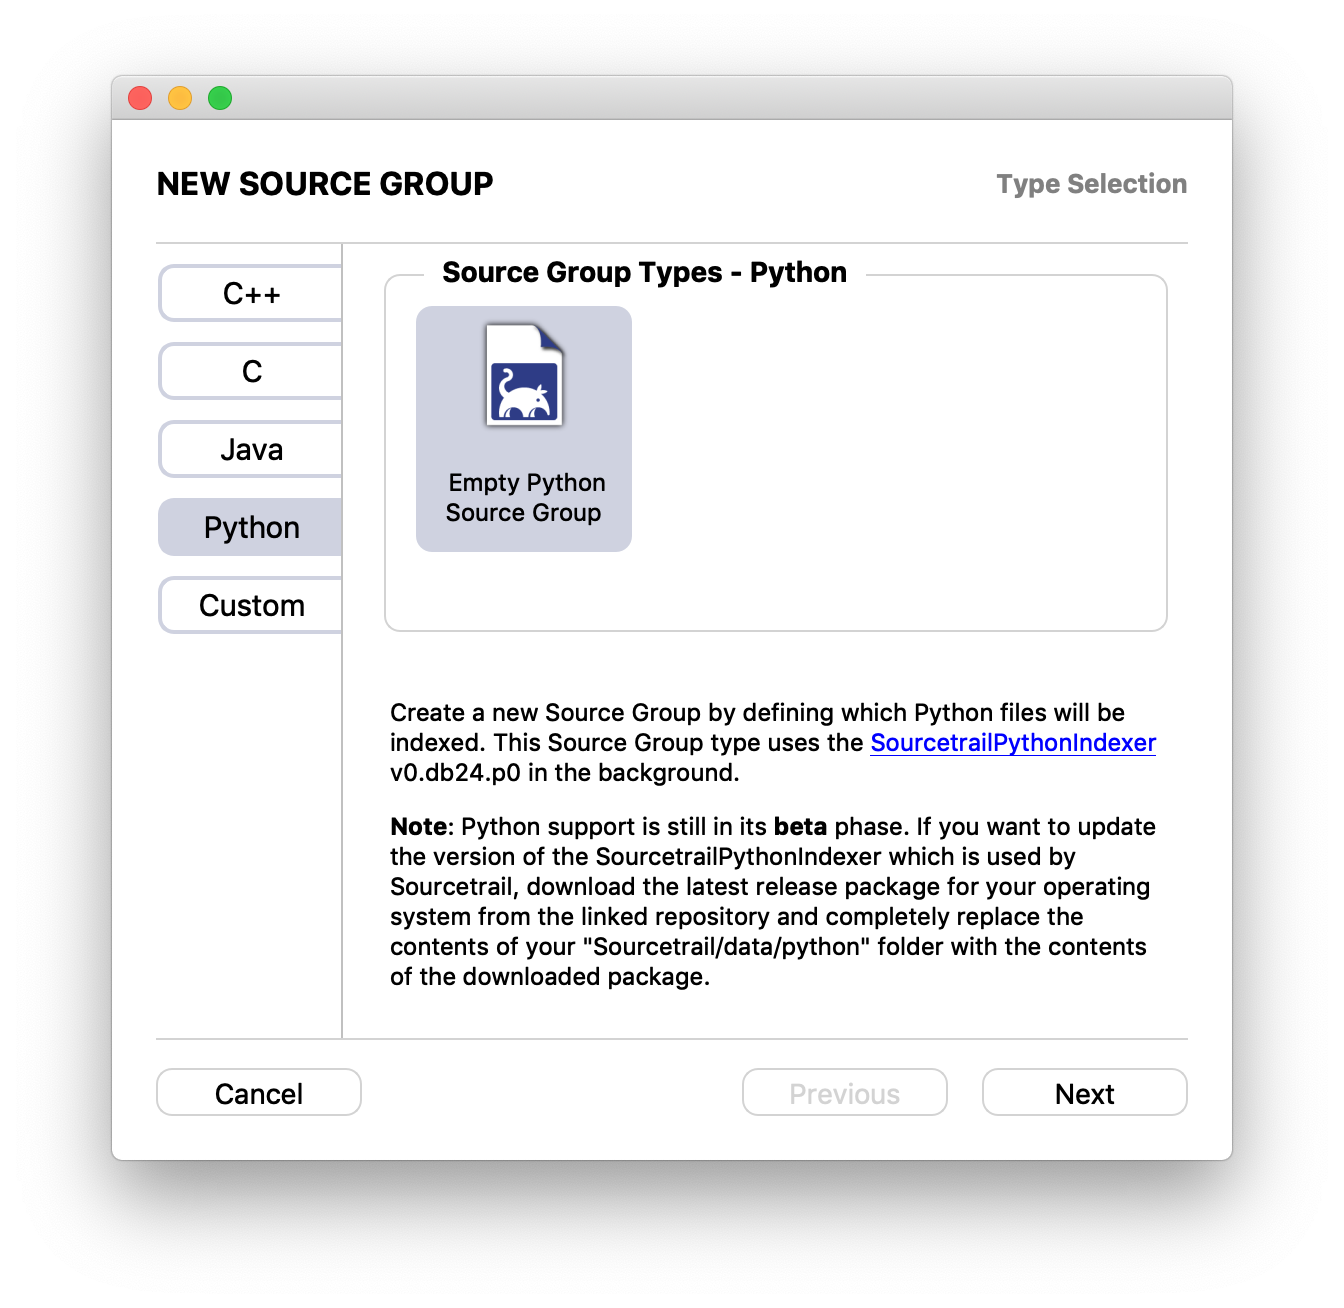
NumbatUI projects consist of multiple Source Groups. Each Source Group uses a certain language, a set of files, and all configurations to index these files. There are different types of Source Groups for each supported programming language. In addition, creating a single Source Group is sufficient for most projects.
Scroll past the image for detailed instructions on setting this up.
Tasks
- Select your chosen Source Group setup type and come back here as soon as the project is created.
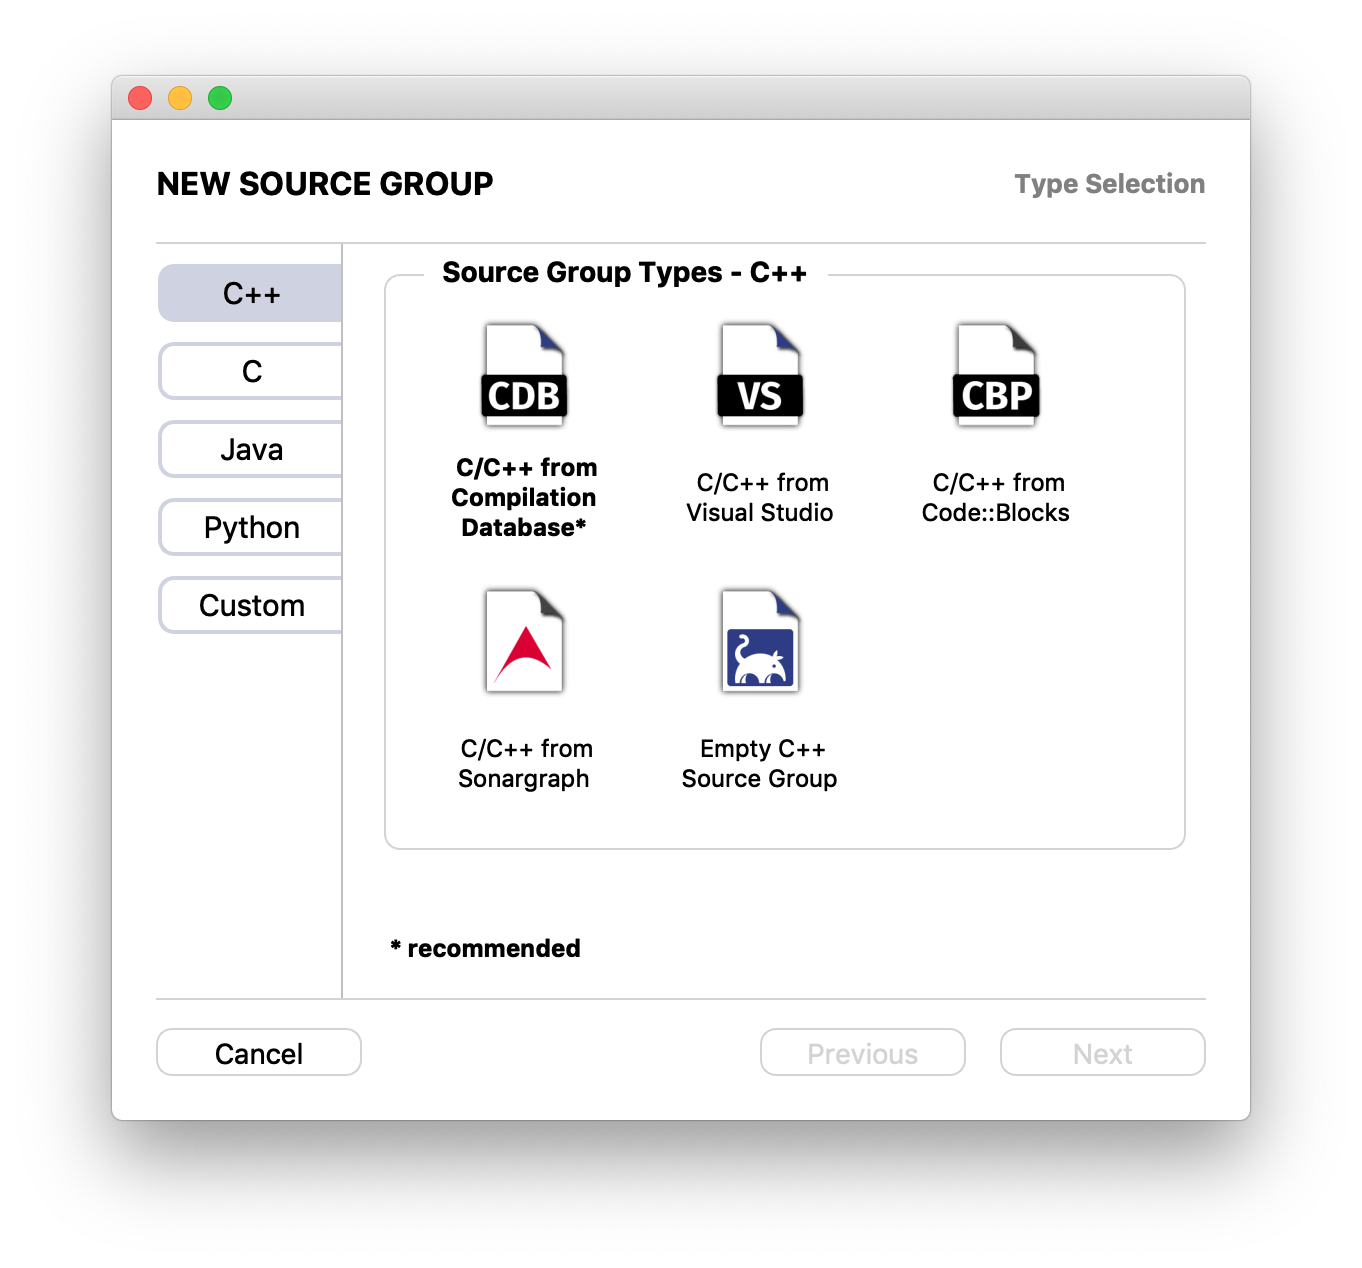
The Source Group setup types for C & C++ are the same.
Are you using CMake, Make or Qt Creator?
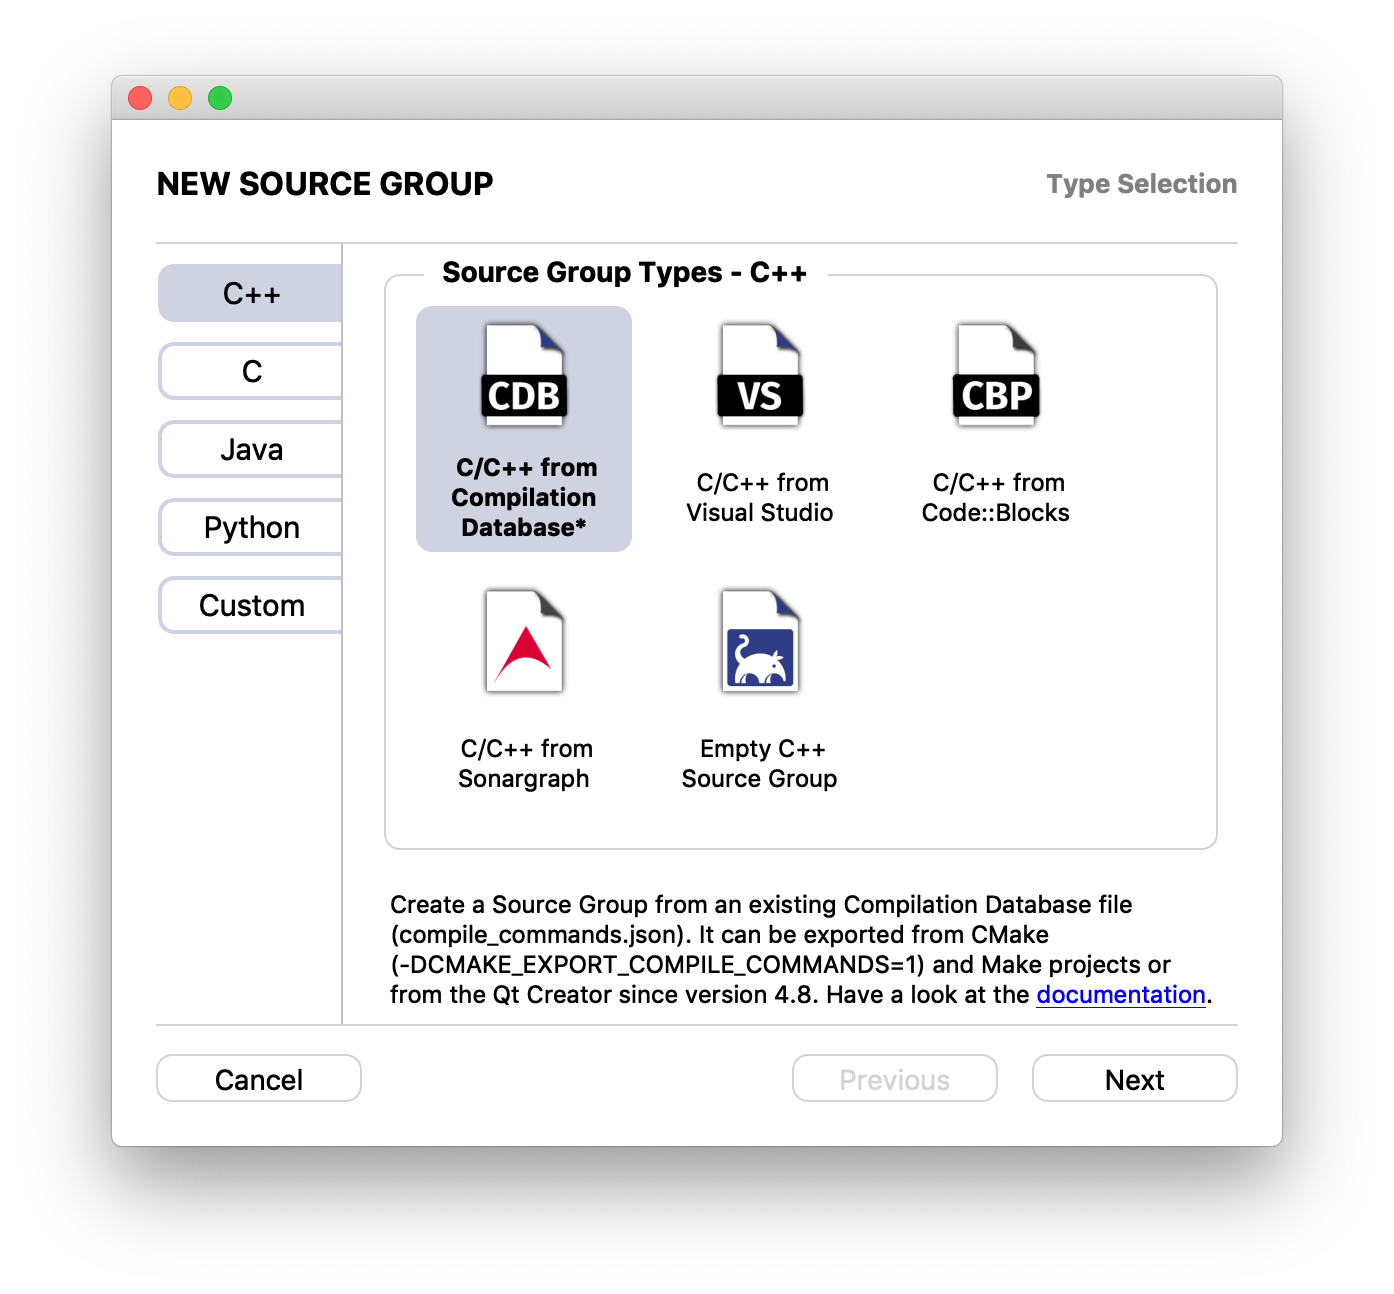
If you are using CMake or Make as build environment you can export a clang JSON Compilation Database as compile_commands.json file. A Compilation Database holds all information necessary for building the project, such as source files, include paths and compiler flags. Having a Compilation Database makes project setup within NumbatUI a lot easier. We recommend using this approach if possible.
Exporting a Compilation Database:
- From CMake by defining the
CMAKE_EXPORT_COMPILE_COMMANDSflag. (not supported on for Visual Studio CMake generators) - For Make projects use Bear. Bear generates a
compile_commands.jsonfile during a simulated build process. Bear has been tested on FreeBSD, GNU/Linux and OS X. - From Qt Creator since version 4.8 by selecting the "Generate Compilation Database" from the "Build" menu.
If you managed to export a compile_commands.json file, then please continue at Create a Source Group from Compilation Database and come back after you finished creating the project.
Create Empty
If neither of the above options apply to your project, please continue at create an empty C/C++ Source Group and return here once the project is created.
Create empty
If you want to browse your Python source code with NumbatUI, please continue at Create an Empty Python Source Group and come back here as soon as the project is created.
Source Indexing
After the project is created, NumbatUI will ask you whether you want to start indexing. Click Start and wait for the indexing to complete. This may take a bit of time. The Indexing Dialog and the Status Bar will give you information about the progress. Otherwise the UI will be empty. NumbatUI indexes all named symbols and their relationships throughout the provided source files.
Tasks
- Click Start when asked whether to start indexing.
- Wait until the indexing of your source files has finished.
- or Click Stop or press ESC to stop indexing (NumbatUI will provide all information gathered so far and the indexing can be continued later by refreshing).

After indexing is completed, NumbatUI will show an overview of all indexed symbols in the graph view and some statistics in the code view.
Troubleshooting Errors
If the indexing yields errors, the status view will be shown with a list of errors. You can click on the errors label on the right side of the status bar or on one of the errors in the table to see their location.
Tasks

User Interface
As mentioned earlier, NumbatUI's user interface is split into three main views. Their arrangement can be adjusted as preferred and can also be detached from the main window and split into different screens (see Window Widgets).
All three views display information about the currently selected symbol:

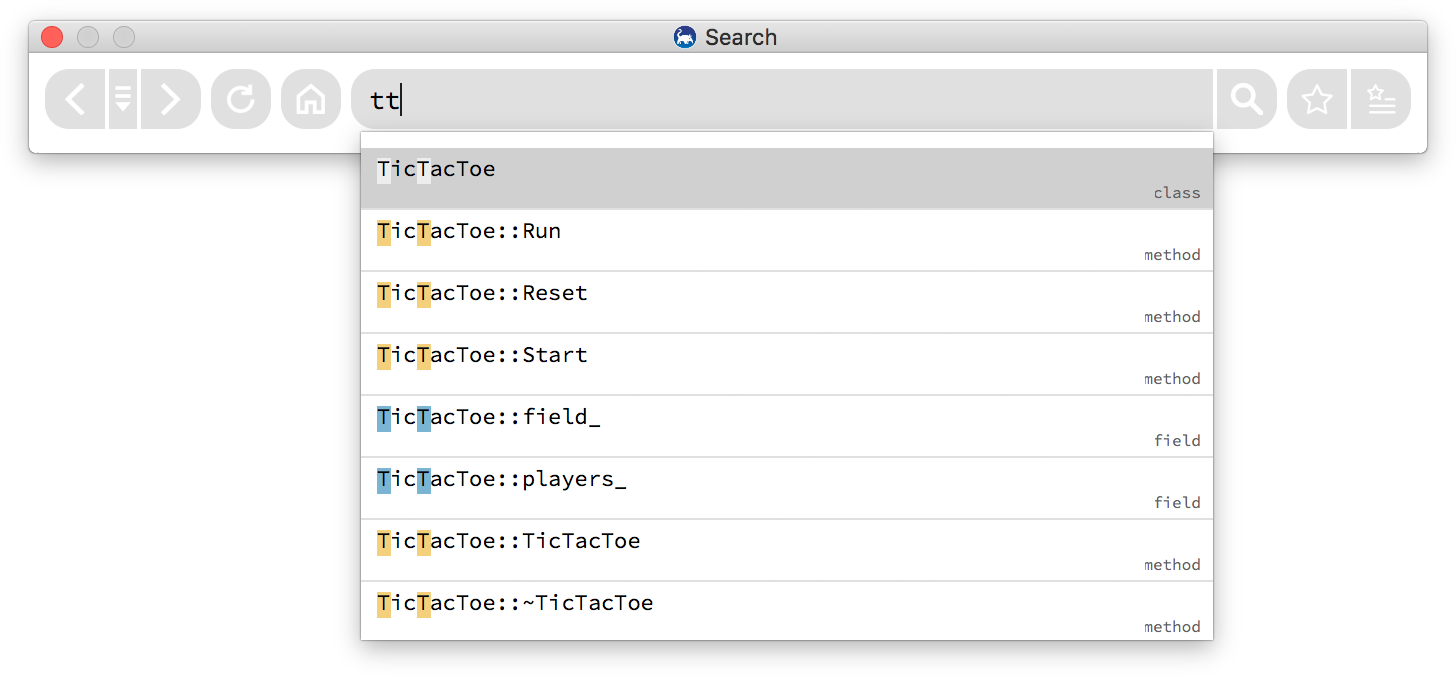
1. Search Field
The Search Field allows for easy access to all indexed symbols. Use it to find all classes and functions you wish to investigate. In addition, it also holds the UI buttons for navigating back & forward as well as refreshing.

When entering a search query, the autocompletion popup will provide you with a concise list of all matching symbols. Note that NumbatUI uses a fuzzy matching algorithm, that allows you to skip characters while entering a query.
2. Graph Visualization
The graph visualization displays the currently selected symbol in an active state and all the other symbols it shares a relationship with. The visualization is made up of nodes and edges.
- Nodes: All named symbols in your source code will be displayed as different nodes, such as
functions,classesorfiles. Nodes with members (likeclasses) can be expanded to show all their contents, the number at the expansion arrow shows how many members are hidden. Clicking a node will activate it and update all the views to the new selection. Dragging a node can be used to change its position. - Edges: The relationships between the symbols are displayed as different edges, such as
type use,function callorfile include. Sometimes edges get bundled together and are displayed asbundled edgesthat show a number of how many edges are contained. Clicking an edge will highlight its source location in the code view.

-
Colors: The different node and edge types are also displayed using different colors. The default color scheme uses this convention:
Color Node Edge gray types and classes type use yellow functions and methods calls blue variables and fields variable access -
Hatching: Nodes displayed with a striped hatching, are nodes that were used within your indexed source files, but were not defined. Clicking them shows all locations where they are used, without providing their declaration.

-
Legend: For a full list on all existing nodes and edges take a look at the integrated Graph Legend by clicking the
?-button in the bottom right corner of the Graph View.
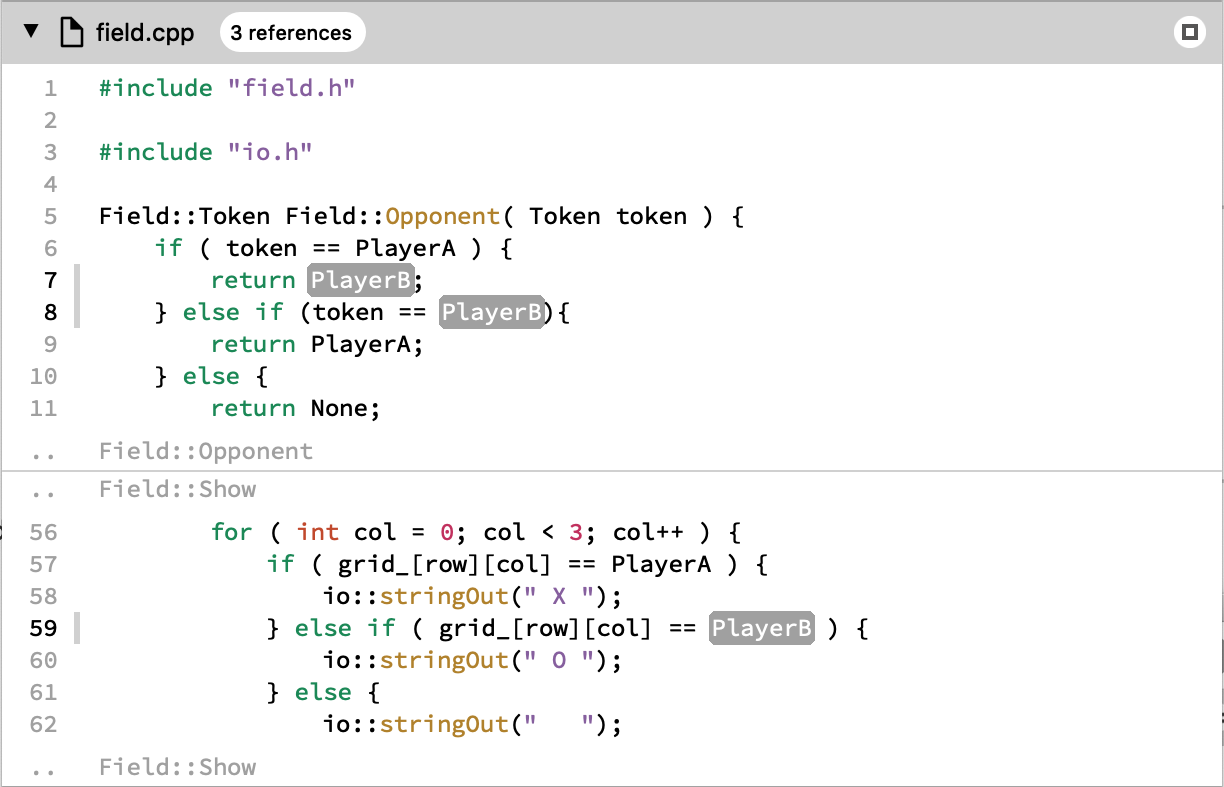
3. Code View
The code view displays all locations of the currently active symbol within the indexed source files. It does not allow for editing the source code. Syntax highlighting is used to increase readability. Source locations that are surrounded by a box when hovered can be clicked to activate the respective symbol. Active source locations are highlighted.

The source locations are displayed as code snippets, containing the line of interest and extra lines added to the top and bottom to give information about its context. Code snippets are then bundled together into files.
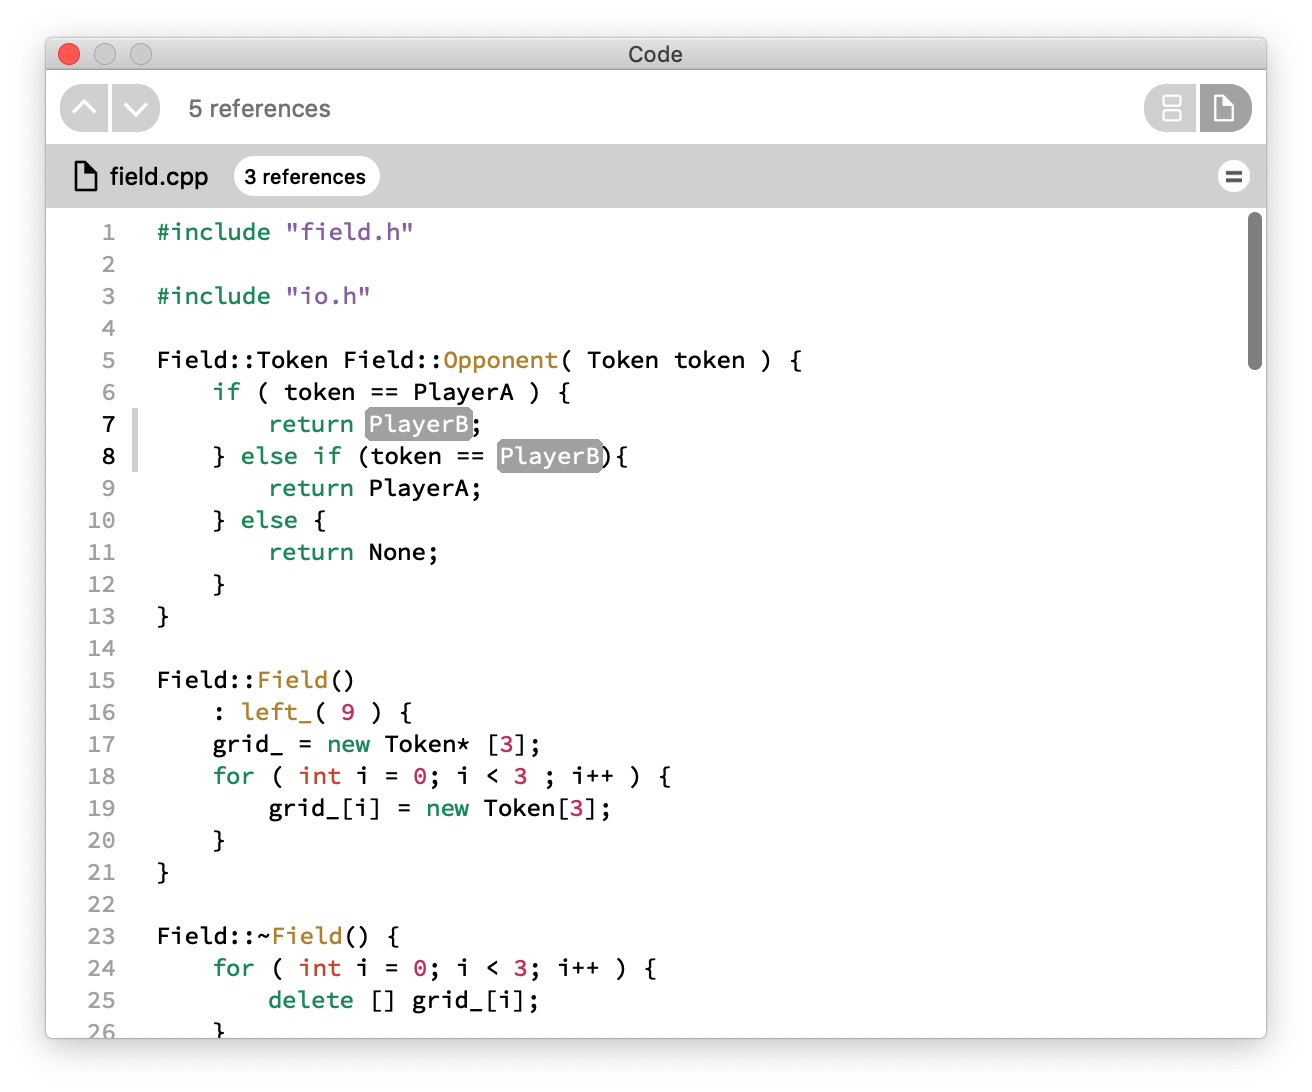
Note: A file can be selected as active symbol by clicking its name in the title bar. By clicking the title bar or the icon on the right hand side of the title bar, the file can switch between 3 different states:
- Minimized: The file does not show any content

- Snippets: The file displays the snippets containing active locations separated by lines.
- Maximized: The code view switches to single file mode and the whole content of the file is visible.
For more information, please visit the Code View Files section.
Start Exploring!
At this point, you should have an understanding of the basics of NumbatUI's user interface and can begin exploring your codebase. NumbatUI will allow you to see your source code from a whole new perspective, by giving you a concise overview of its parts and a faster way of drilling down to its internals, while always maintaining the connection to the implementation details of the actual source code.
Please take look at the much more extensive instruction manual below for detailed information.
The NumbatUI team wishes you a good start with our product, lots of saved time, increased productivity and much cleaner code.
Tasks
- Start exploring and have fun!